
Best Anonymous & Secure Windows VPS Hosting in 2025 – Buy with Crypto, No KYC Needed
Introduction: The Rise of Anonymous VPS Hosting in 2025 In 2025, digital privacy is no longer a luxury—it’s a necessity.

Matrix Synapse is rapidly growing as an alternative to Discord, Slack, and more. Here’s how you can set one up on your VPS.
We’ve previously covered self-hosted, privacy-conscious alternatives to document collaboration, search engines, mail, and cloud storage. That, however, leaves one major part of the puzzle missing – real-time text communication. Matrix Synapse is a free, open-source, and self-hosted alternative to apps like Slack and Microsoft Teams.
But what exactly is it, and how do you set it up? That’s what we’re going to cover today.
Matrix is an open protocol to enable decentralized, real-time, end-to-end communication. Communication is distributed across a federation of servers, ensuring there’s no single point of control of failure.
Synapse is the reference implementation of the Matrix protocol for use in a home server. Together, they make Matrix Synapse, a federated application that can be used in tandem with a client such as Element to deliver modern chat features.
To set up Matrix server, you need a VPS. The specs you need will naturally vary depending on how many people you plan to have communicating at once. In our testing, though, easyglobal’s lowest spec server is more than enough to get started.
You’ll also want a domain or subdomain from which your Matrix Synapse server will be accessible. It’s up to you whether you want to create an A record for a subdomain on your existing site (ie, matrix.yourdomainname.info)or purchase a new domain specifically for this purpose.
The initial setup of a Matrix synapse server is quite easy. As with any new server, the first step is to ensure everything is up to date. You can do so by running the following commands:
sudo apt update
sudo apt upgrade
Once that’s done, install your pre-requisites:
sudo apt install -y lsb-release wget apt-transport-httpsNow it’s time to install Matrix Synapse. Technically, there are packages in the default Ubuntu repository, but Matrix warns that these are outdated and have vulnerabilities. Instead, you should install via GPG key and the Matrix-Synapse repository:
sudo wget -O /usr/share/keyrings/matrix-org-archive-keyring.gpg https://packages.matrix.org/debian/matrix-org-archive-keyring.gpg
echo "deb [signed-by=/usr/share/keyrings/matrix-org-archive-keyring.gpg] https://packages.matrix.org/debian/ $(lsb_release -cs) main" | sudo tee /etc/apt/sources.list.d/matrix-org.list
sudo apt update
sudo apt install matrix-synapse-py3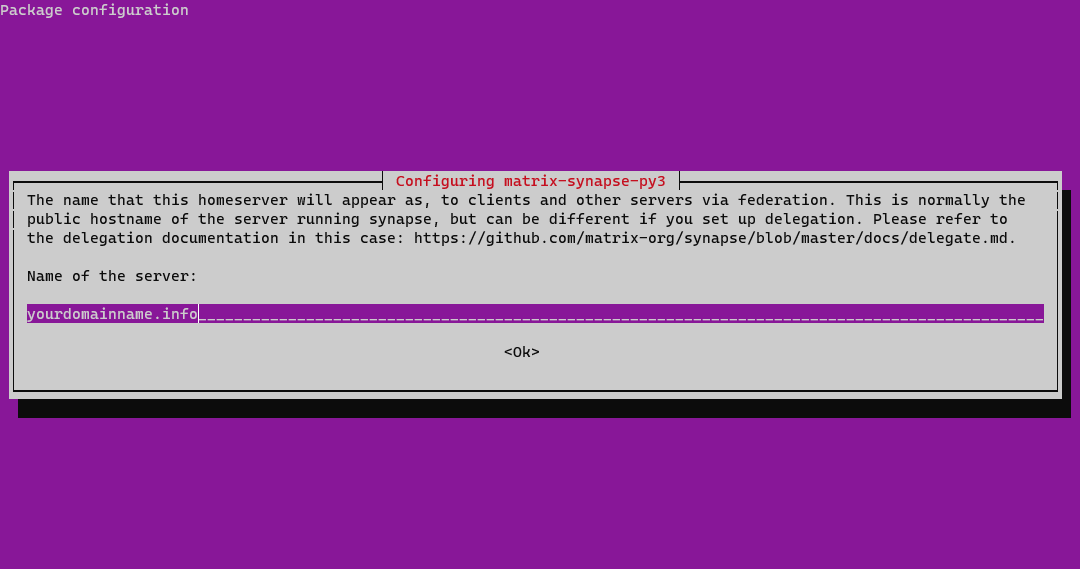
Make sure you enter the correct domain name when prompted and press Enter.
If you like, you can then use systemctl it to start the server and make it start on boot.
systemctl start matrix-synapse
systemctl enable matrix-synapseNow that Synapse is installed, we can start configuring it so it works with our domain. We’ll do so by editing the homeserver.yaml. Before we start, however, you’ll want to generate a random key to use for your registration_shared_secret configuration.
You can do so by typing cat /dev/urandom | tr -dc 'a-zA-Z0-9' | fold -w 32 | head -n 1. Your key will look something like this: rhp9aEnLMdlGgYHN6BrEvVYAP6Wd1YaS. Copy it down for use later on.
With that done, start editing your YAML by entering. sudo nano /etc/matrix-synapse/homeserver.yaml.
Search for registration_shared_secret by pressing Ctrl + W, then delete the # at the start of the line to uncomment. After the =, add the key you generated earlier, in quotes. Like this:
registration_shared_secret: "rhp9aEnLMdlGgYHN6BrEvVYAP6Wd1YaS"Also, change the server_name to match your domain name:
# This is set in /etc/matrix-synapse/conf.d/server_name.yaml for Debian installations.
server_name: "yourdomainname.info"
Press Ctrl + X to exit and save the changes.
To apply the new configuration, you’ll have to restart Matrix Synapse:
systemctl restart matrix-synapseWith that done, you’ll want to set up a reverse proxy. This will ensure you don’t have to run Synapse with root privileges for users to connect via the default HTTPS port. We’ll be setting up SSL a bit later via certbot.
First, naturally, you need to install Nginx and create a virtual host file for your domain:
sudo apt install nginx
sudo nano /etc/nginx/sites-available/matrix
Paste the following into your hosts file, replacing yourdomainname.info With your actual domain in each place it’s mentioned:
server {
    listen 80;
    server_name yourdomainname.info;
    return 301 https://$host$request_uri;
}

server {
    listen 443 ssl;
    server_name yourdomainname.info;

    ssl_certificate /etc/letsencrypt/live/yourdomainname.info/fullchain.pem;
    ssl_certificate_key /etc/letsencrypt/live/yourdomainname.info/privkey.pem;

    location /_matrix {
        proxy_pass http://localhost:8008;
        proxy_set_header X-Forwarded-For $remote_addr;
        # Nginx by default only allows file uploads up to 1M in size
        # Increase client_max_body_size to match max_upload_size defined in homeserver.yaml
        client_max_body_size 10M;
    }
}

# This is used for Matrix Federation
# which is using default TCP port '8448'
server {
    listen 8448 ssl;
    server_name yourdomainname.info;

    ssl_certificate /etc/letsencrypt/live/yourdomainname.info/fullchain.pem;
    ssl_certificate_key /etc/letsencrypt/live/yourdomainname.info/privkey.pem;

    location / {
        proxy_pass http://localhost:8008;
        proxy_set_header X-Forwarded-For $remote_addr;
    }
}
Press Ctrl + X to close the file and make sure you save the changes.
Your reverse proxy will require an SSL certificate to work. You can get a free SSL certificate through the use of certbot, which allows you to easily obtain an encrypted certificate:
sudo apt install certbotWith certbot installed, you can run the following commands, replacing yourdomainname.info With your matrix domain or subdomain:
sudo systemctl stop nginx
certbot certonly --rsa-key-size 2048 --standalone --agree-tos --no-eff-email --email [email protected] -d yourdomainname.info
sudo systemctl start nginx
Enable the config we made earlier with ln -s /etc/nginx/sites-available/matrix /etc/nginx/sites-enabled/Check for errors using nginx -t.
For the sake of security, you should now set up your firewall, locking down all but the necessary ports. We need the rules for SSH, HTTP, HTTPS, and TCP port 8448:
for svc in ssh http https 8448
do
ufw allow $svc
done
Now you can enable the firewall with ufw enable.
With that, your matrix synapse server should be up and running. However, it’s worth checking whether your Matrix federation is working. You can do so by typing your URL into this site.
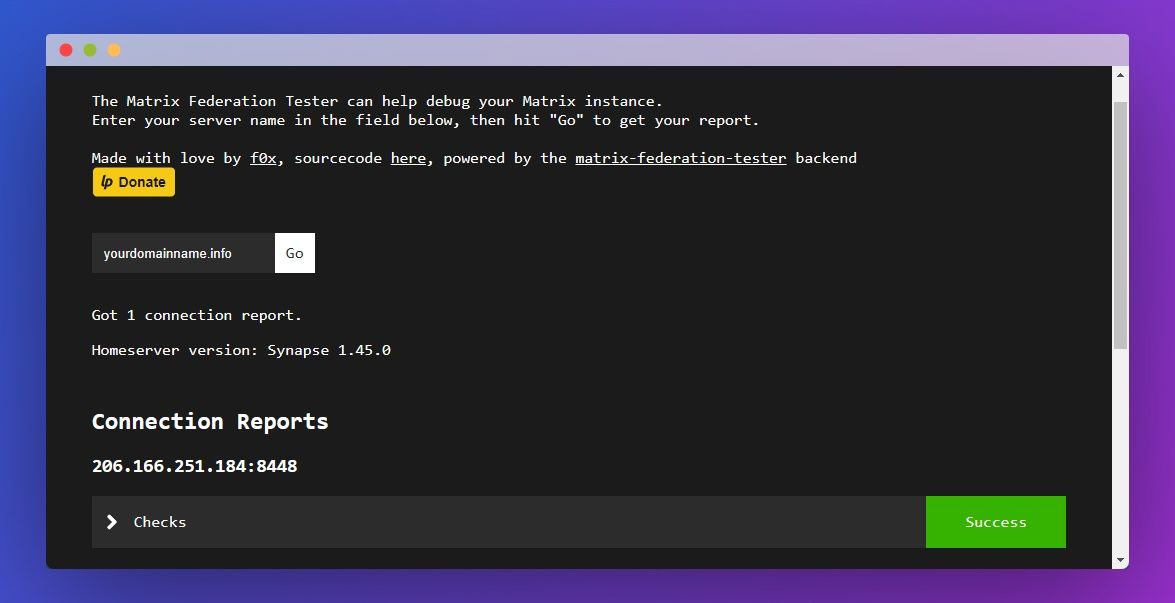
You should see a “Success” message if everything is working as intended. If it’s not, check your SSL and config files again and make sure your domain is pointing to your VPS server.
Now that Matrix Synapse is properly installed, we can use it to register a new (admin) user, which we can use to log into our home server via our Element client:
register_new_matrix_user -c /etc/matrix-synapse/homeserver.yaml http://localhost:8008When prompted, enter your username and password and agree to make the user an admin.
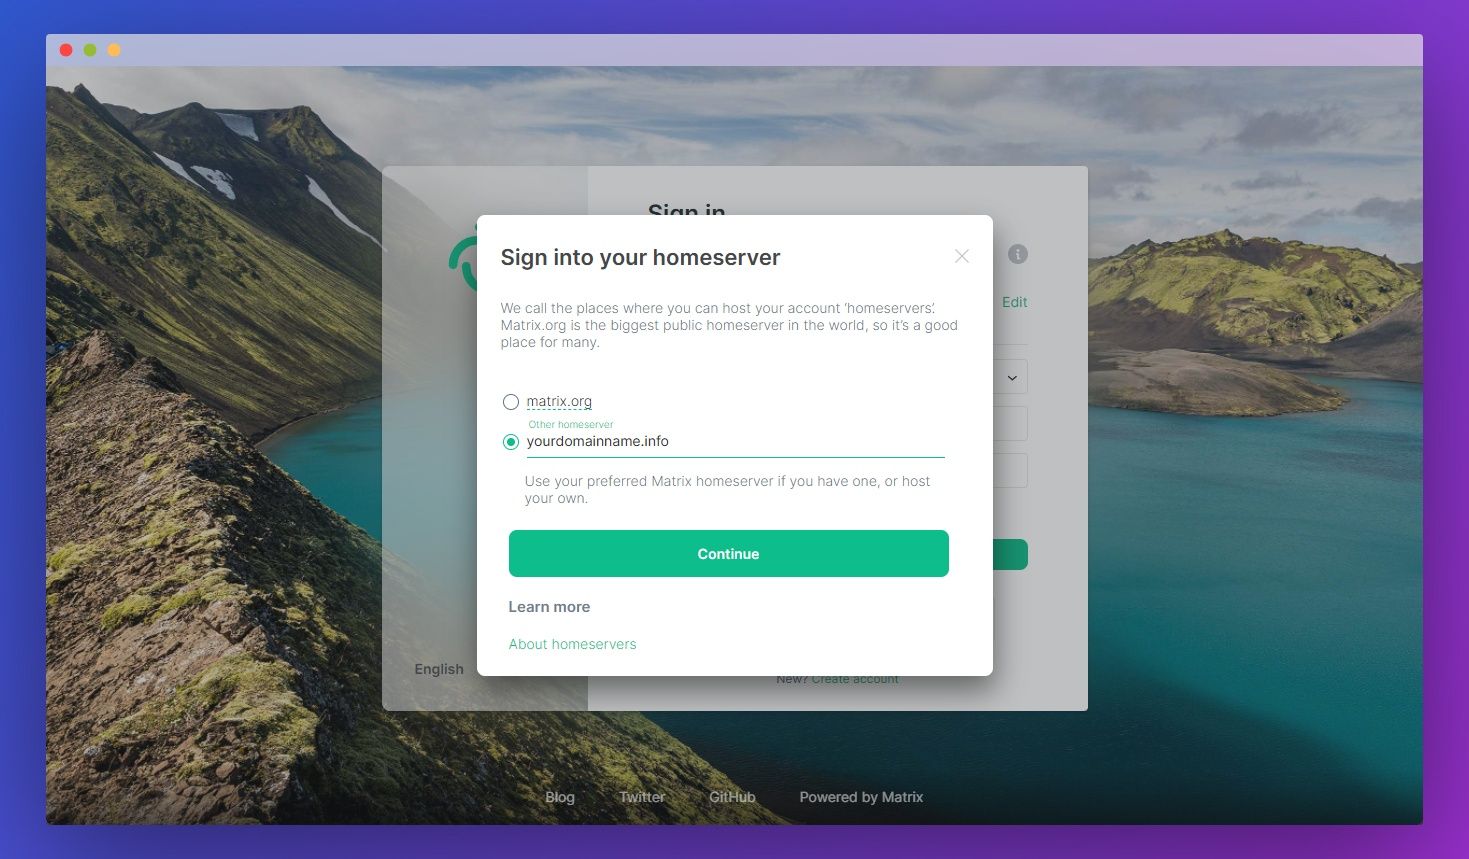
Once that’s done, visit the Element web client. Click Edit underneath the Homeserver heading and enter your domain name. Press Continue.
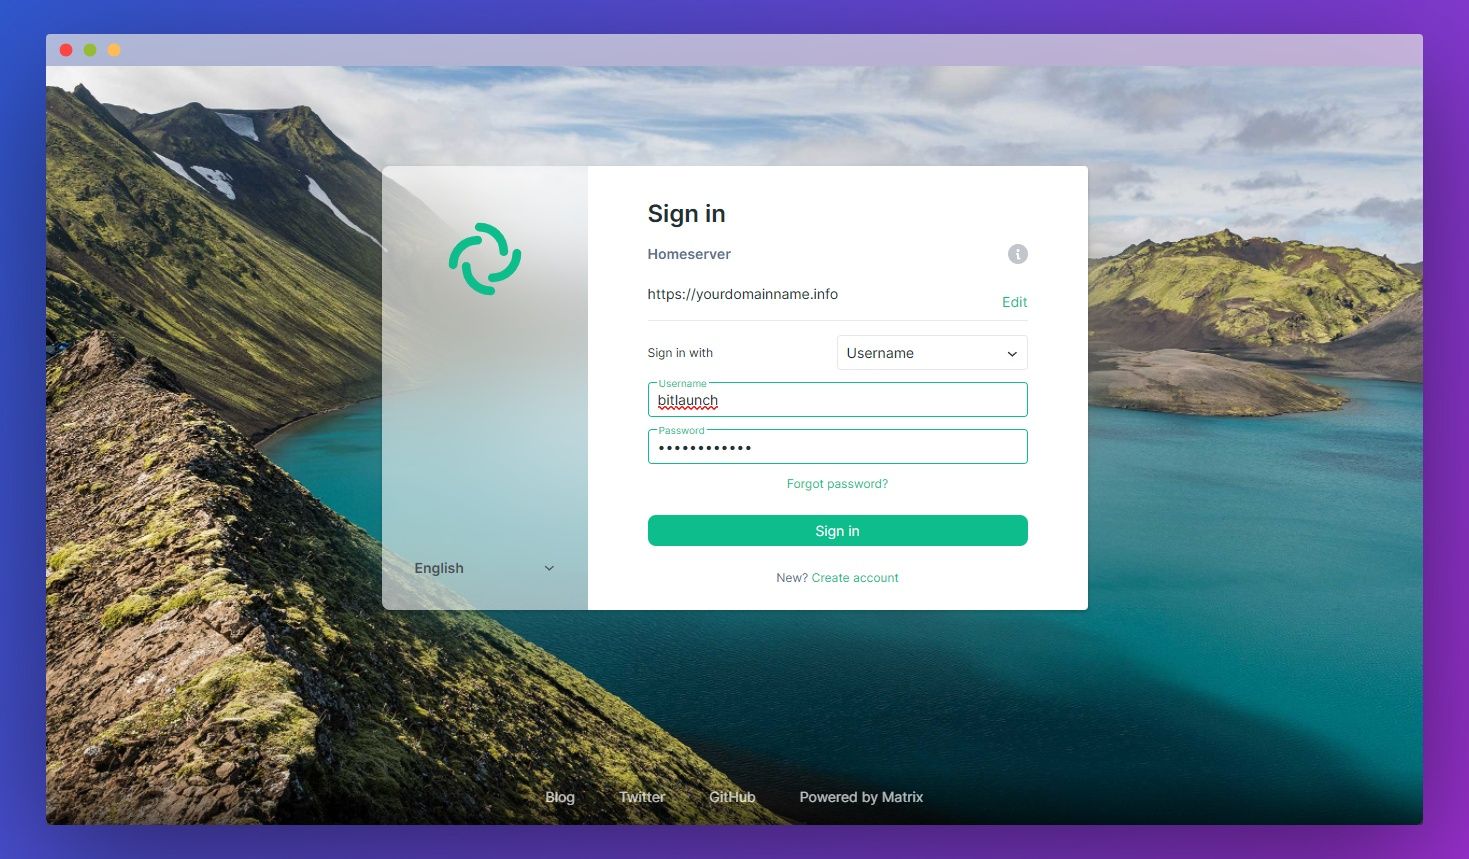
Now all that’s left is to type your username and password and hit Sign In.
Currently, your matrix synapse homeserver is running on SQLite. That may be fine for testing or light workloads, but at scale, you’ll start to run into significant performance issues. As such, if you’re planning to use Matrixx for more than a few users, you’ll want to switch. Here’s how to do that:
sudo apt install postgres postgresql-contrib
su - postgres
createuser --pwprompt synapse_user
CREATE DATABASE synapse
 ENCODING 'UTF8'
 LC_COLLATE='C'
 LC_CTYPE='C'
 template=template0
 OWNER synapse_user;
show hba_file;
# Synapse local connection:
host    synapse         synapse_user    ::1/128                 md5
With Postgres installed and configured, we can migrate our database from SQLite to it using the synapse_port_db tool. First, you should edit your homeserver config to comment out sqlite and uncomment postgres, which will be named psycopg2. Make sure to also add the correct username and password for your database:
sudo nano /etc/matrix-synapse/homeserver.yamldatabase:
name: psycopg2
txn_limit: 10000
args:
user: synapse_user
password: yourdatabasepassword
database: synapse
host: localhost
port: 5432
cp_min: 5
cp_max: 10
#database:
# name: sqlite3
# args:
# database: /var/lib/matrix-synapse/homeserver.dbNow we can copy the SQLite database so we can import it later, giving it the right permissions while we do so:
cp /var/lib/matrix-synapse/homeserver.db /var/lib/matrix-synapse/homeserver.db.snapshot
chown matrix-synapse:nogroup /var/lib/matrix-synapse/homeserver.db.snapshot
If your matrix-synapse server is not stopped already, do so before you run the import:
systemctl stop matrix-synapseNow, finally, we can import our SQLite database to Postgres:
synapse_port_db --curses --sqlite-database /var/lib/matrix-synapse/homeserver.db.snapshot --postgres-config /etc/matrix-synapse/homeserver.yamlStart your matrix-synapse server again and make sure everything works:
systemctl start matrix-synapseYou’re good to go. You can now use your matrix-synapse server however you wish.
Introduction: The Rise of Anonymous VPS Hosting in 2025 In 2025, digital privacy is no longer a luxury—it’s a necessity.
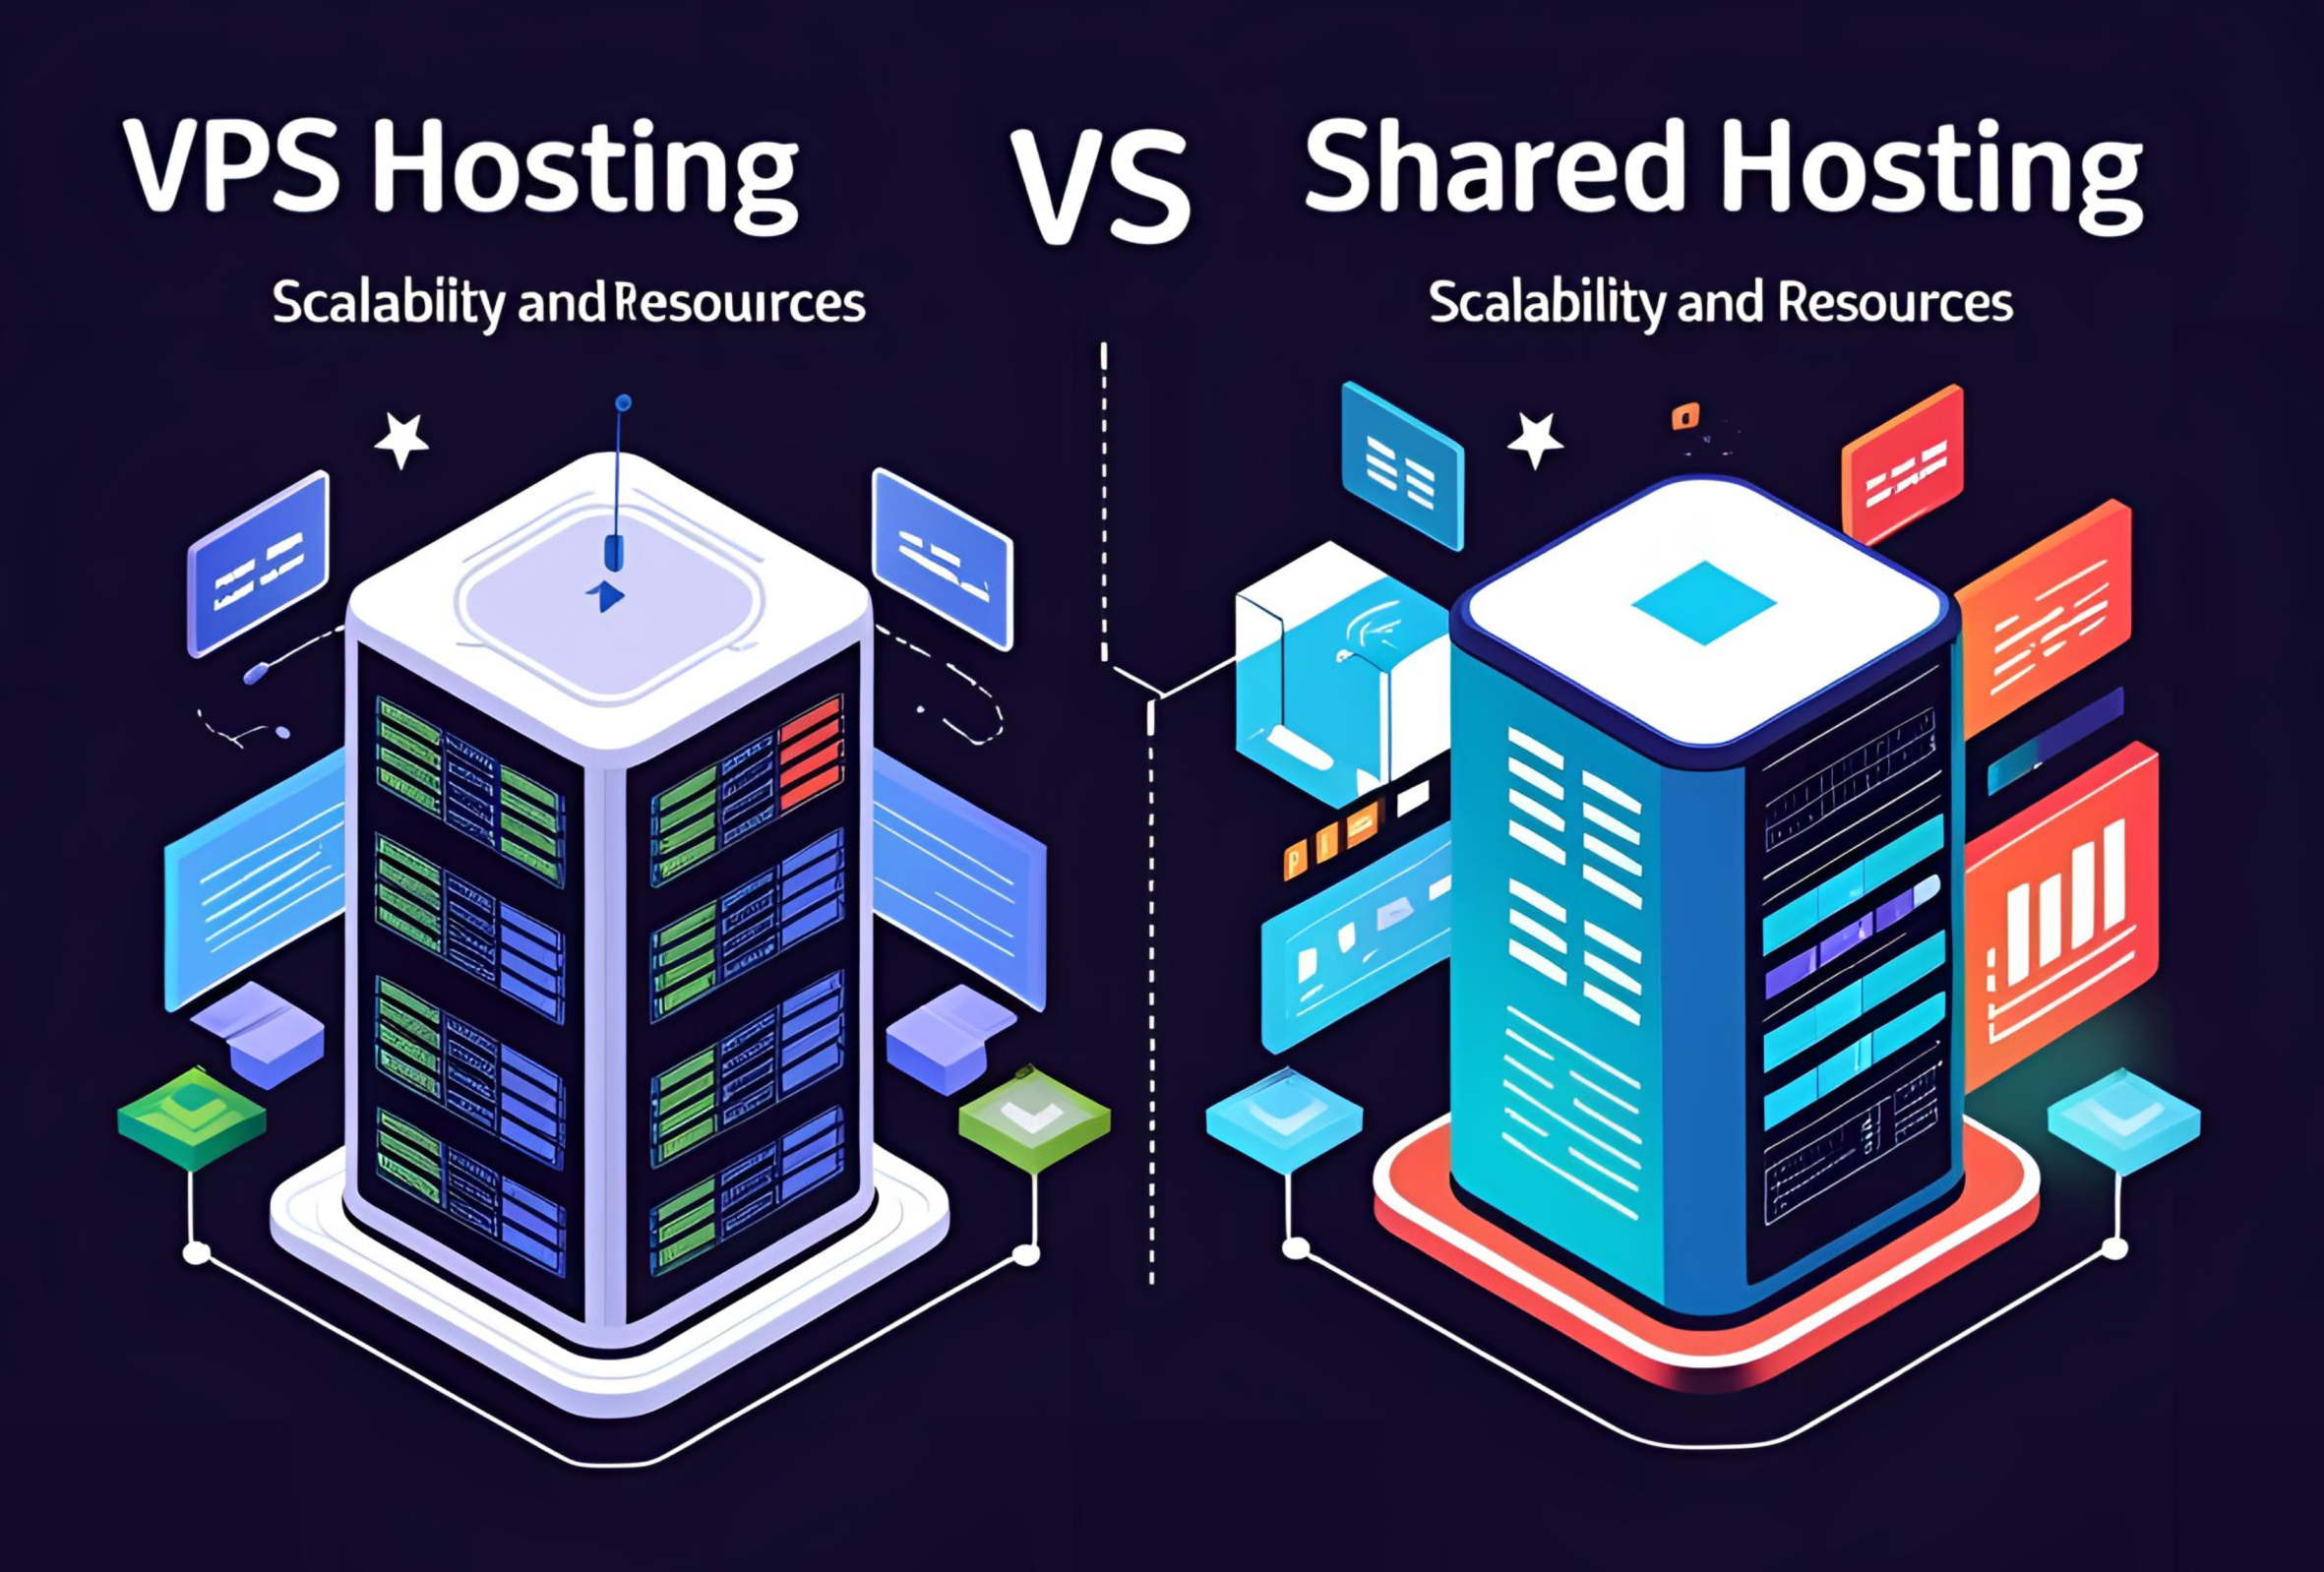
What is VPS Hosting, and vps hosting vs shared hosting In today’s fast-paced digital environment, selecting the right hosting solution
No account yet?
Create an Account